Whole Wheat English Muffins
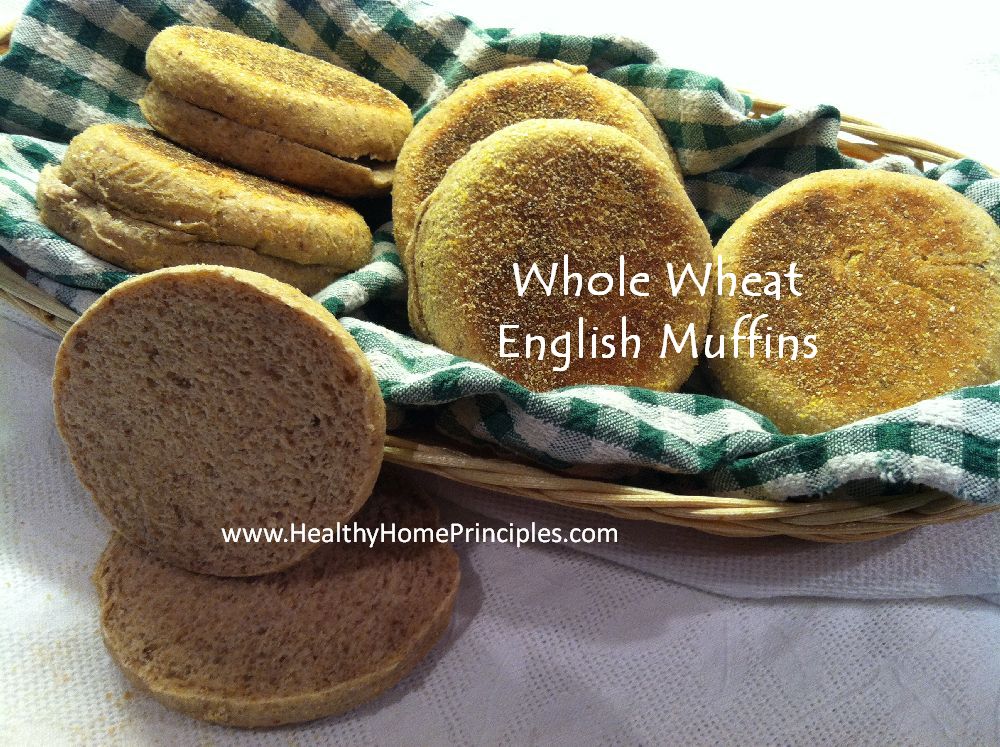
So tasty all by themselves; yet perfect with any topping!
Whole Wheat English Muffins
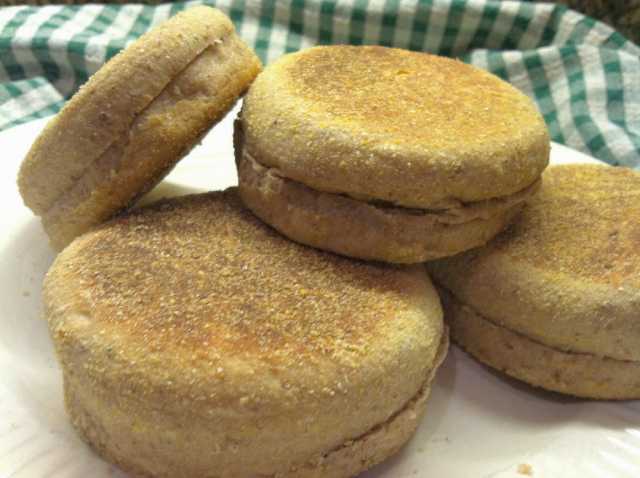
These whole wheat English muffins are one of our absolute favorites. So tasty all by themselves; yet perfect with any topping! Made from a mix of freshly milled hard white & hard red wheat, throw in some bean flour and flax seed for extra nutrition, then dusted with freshly milled cornmeal. Oh yeah! It doesn’t get any better than that.
Don’t you just love English Muffins with their toasty outside and warm chewy inside? So perfect for so many treats: smother it with cream cheese & jam or butter & raw honey, maybe sausage, egg & cheese breakfast sandwich, or how about an afternoon mini pizza snack; really the ideas are endless.
Now, the choices from the grocery store offer bleached white flour, maybe some “whole wheat” flour and of course lots of chemicals. Who wants to eat that?
So, what do you do – you make your own!
When you choose to prepare foods from scratch, you get to choose what goes in them. You are in control.
This Whole Wheat English Muffins recipe is super easy and super good for you.
Made with all wholesome ingredients – you will never go back to store-bought again.
Ideally, you want to start with flour and cornmeal that has been freshly milled. That might sound daunting, but it is so easy to do. All you need is a grain mill and some grain. Easy peasy! Go to my Getting Started-Milling & Real Bread pages for all those details. If you don’t mill yet, that’s OK, at least use a blend of unbleached and whole wheat flour (organic if available). As for the other ingredients, they are also the healthy versions along with a couple of optional items that make these muffins even better.
The goal here is to help you make the switch from nutrition-less ingredients of bleached white flour and bleached white sugar for nutritionally dense choices like freshly milled real whole wheat flour and honey. Ingredients which gives the body life.
By the way, these little jewels are cooked on a griddle or in a skillet on your stove top. Give them a go; you are going to just love them! I promise.
Once you make them a couple of times (which of course you will because you will LOVE them!) you will be able to do them in your sleep. Easy peasy!
Recipe
Whole Wheat English Muffins
Ingredients:
1/2 cup Warm Water
1 cup Buttermilk* or Milk
2-1/2 teaspoons Real Salt Sea Salt*
2 teaspoons Sucanat* (Brown Sugar) or Honey or sugar
1 Tablespoon Sunflower Lecithin* (optional)
3 Tablespoons fresh ground Flax Seed* (optional)
4 to 4/1/2 cups Whole Wheat Flour – freshly milled, divided
Freshly milled Bean Flour* (optional)
2-1/2 teaspoons Yeast
3 Tablespoons Softened Butter
1/3 cup Cornmeal, freshly milled
You will need a griddle or skillet for cooking the muffins and a cold stick of butter. You’ll see.
*See my Ingredients page for more details.
If you do not mill your own flour yet, no worries; simply replace the flour with 1/2 whole wheat and 1/2 unbleached all-purpose flour.
Instructions:
Milling the Wheat
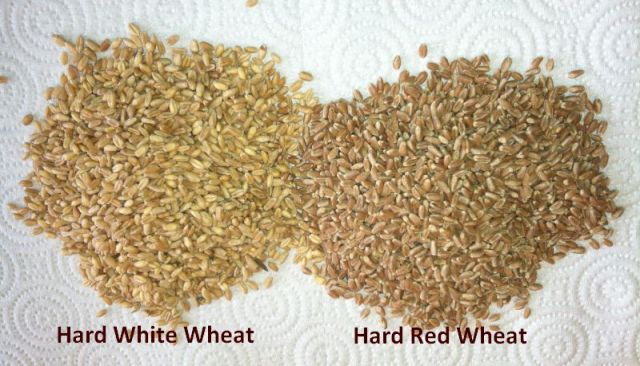
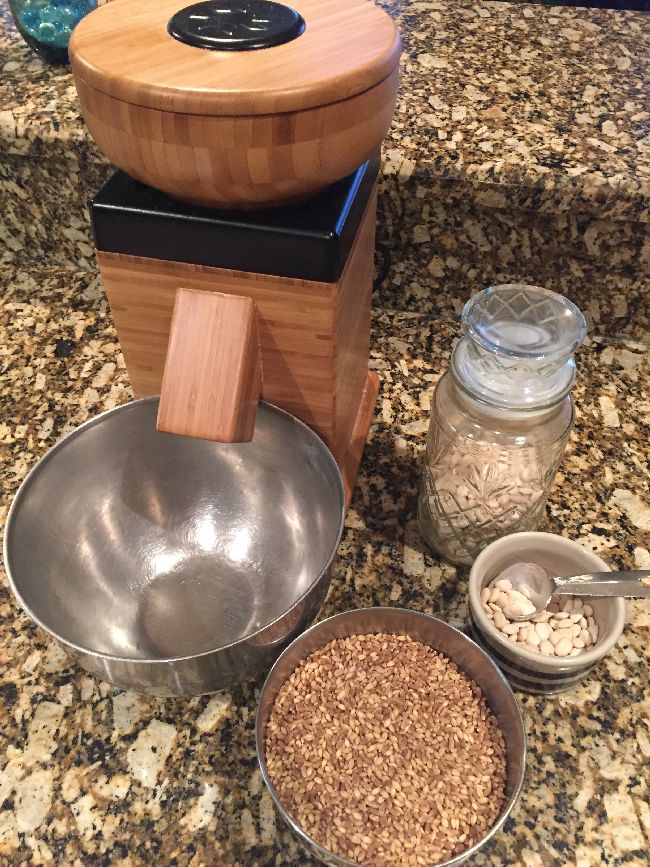
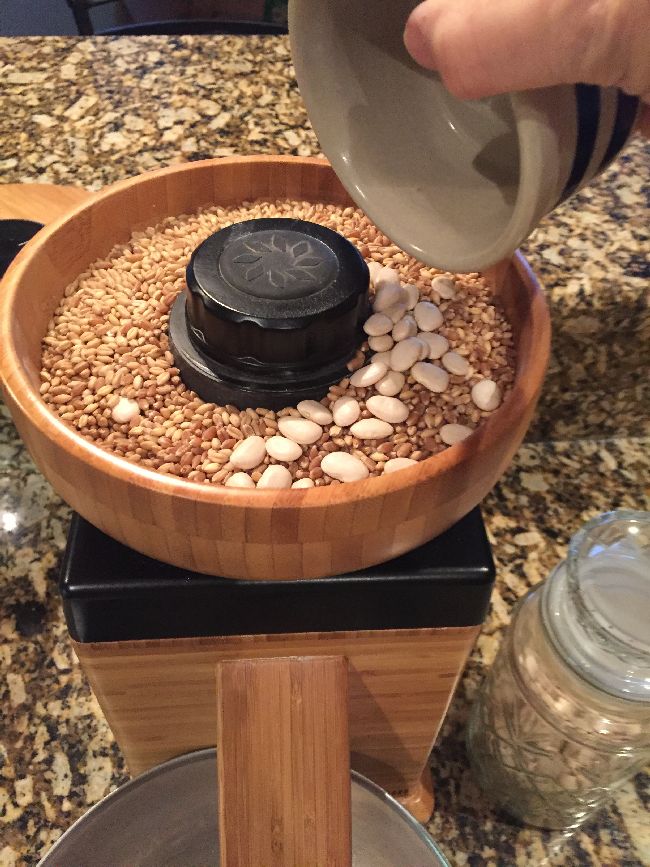
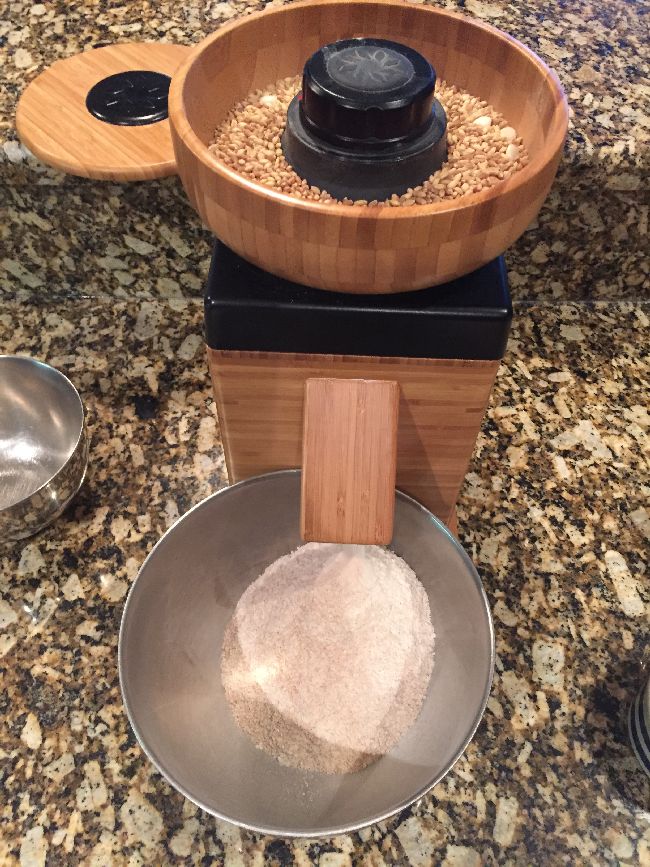
First, mill your wheat grains and dried beans together. My family prefers a mixture of hard white wheat and hard red wheat. You can see the color difference in the picture. Hard white wheat has a mild flavor, more like store-bought white bread. Where as hard red wheat has a deeper, nuttier flavor; it tastes more like wheat bread from the store. Mixing the two grains together gives a nice balance of flavors. Set your grain mill to grind medium-fine setting.

How much to mill: One cup of grain will produce about
1-1/2 cups flour. So, simply divide the total needed cups of flour by 1.5 to get the number of cups of grain you will need to mill. You may have a little flour left over, that’s OK; just put it in the freezer and use next time you bake.
Example: 6 cups flour needed divided by 1.5 = 4 cups grain to be milled. 6 / 1.5 = 4

Did you say Bean Flour?
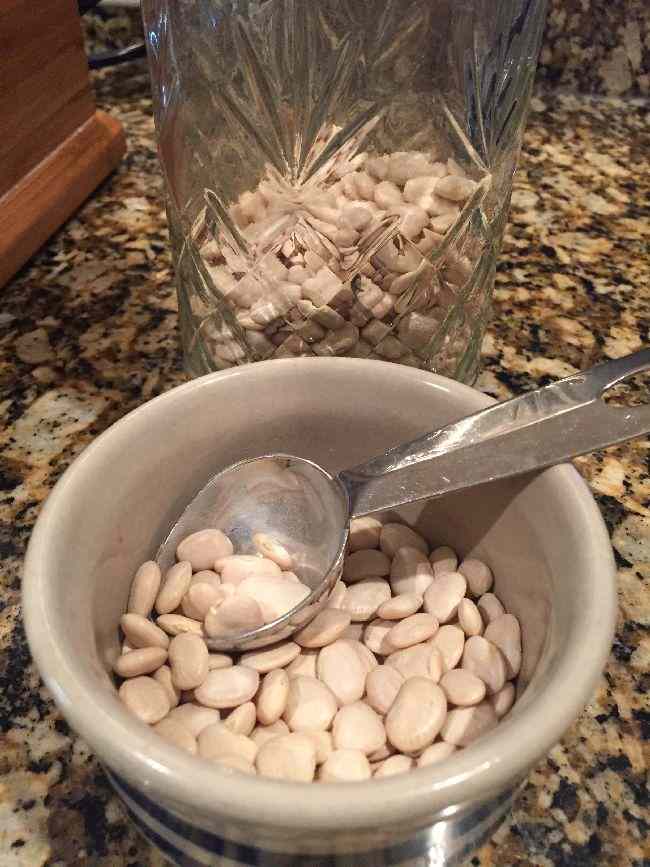
Bean Flour: Because beans have so much to offer in the way of protein, fiber and tons of nutrients, I frequently add bean flour into much of my baked goods: breads, biscuits, cookies, cakes, etc. No, you won’t taste the beans once your muffins are cooked.
1 Tablespoon dried beans per cup of grain. I like to use dried navy beans or baby Lima beans; however, pretty much any dried bean will work. Just add them in with your grain and mill all together.
Again, check out my Getting Started-Milling page to learn more.
Milling the Corn
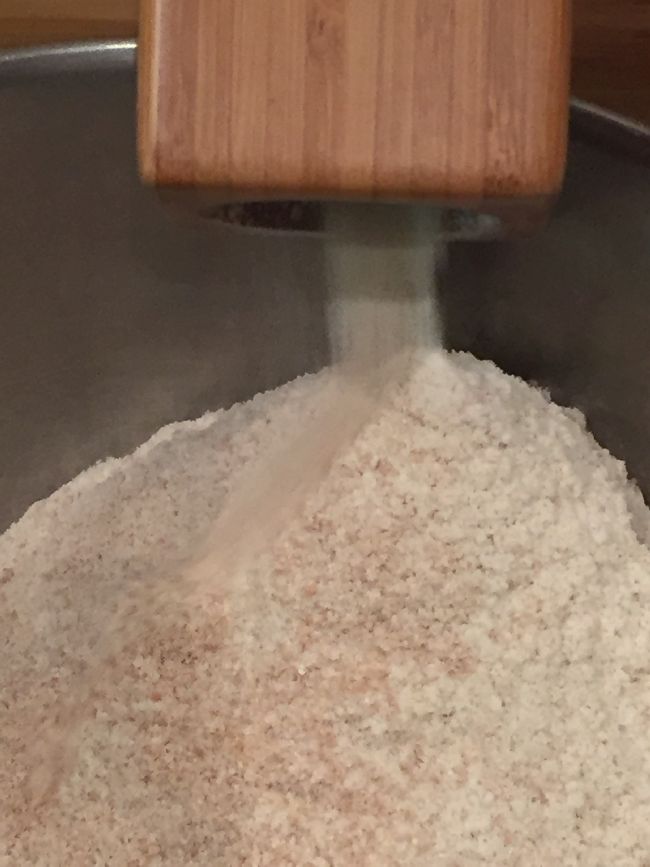
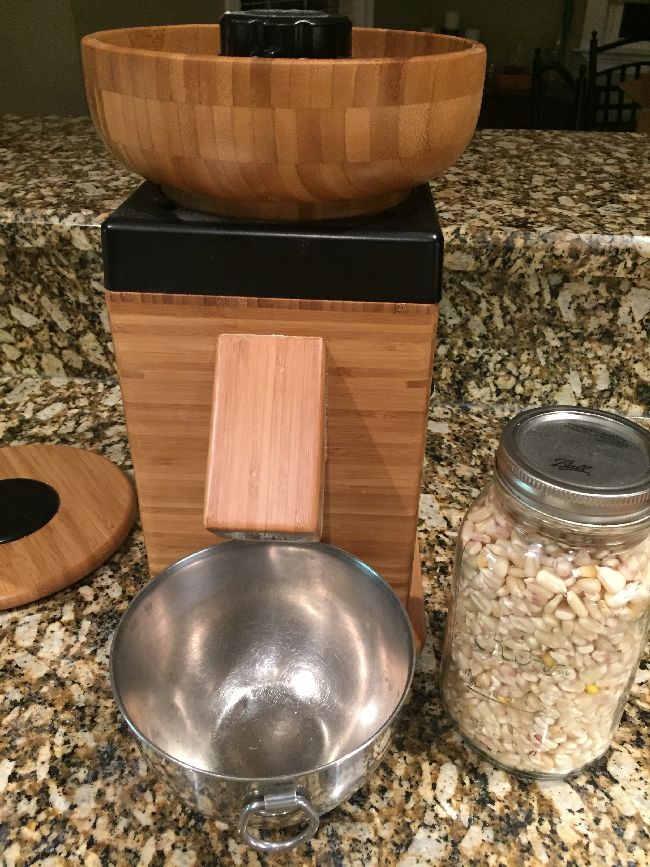
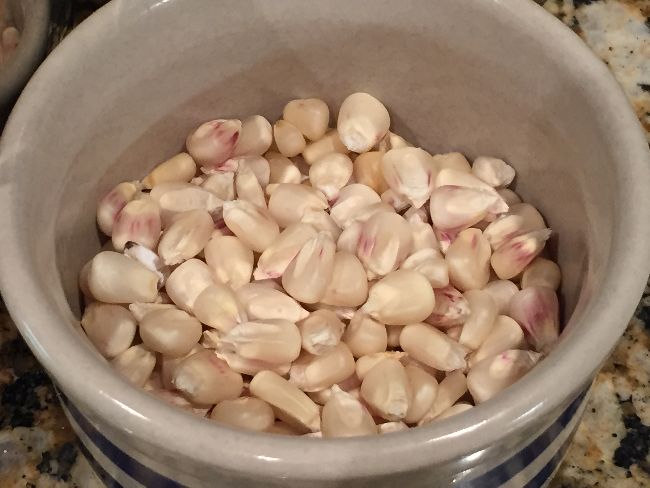
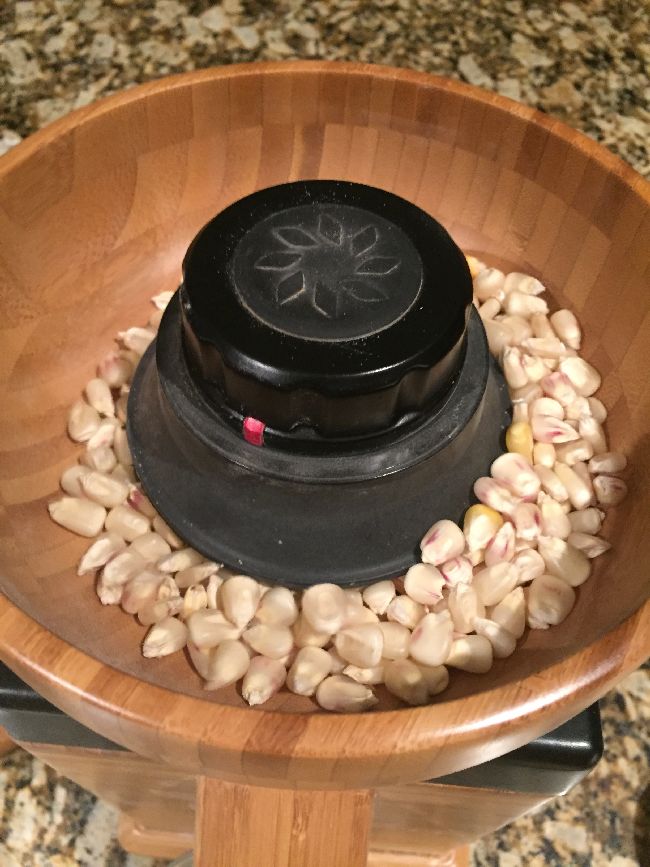
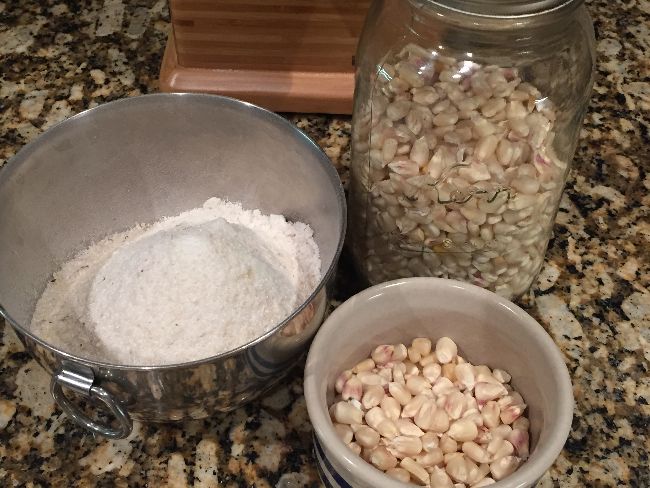
Now, mill your corn into cornmeal. Set your mill on the coarsest setting and mill about 1/2 cup or so of dried dent corn ( sometimes called field corn); yellow, white or even blue, it doesn’t matter. And as far as I’m concerned, organic corn is the only choice. Most of the corn grown in the USA is GMO (genetically modified organism); too creepy for me.
Set your cornmeal aside; you will need it when you roll out your muffins.
I must say, there is nothing like freshly milled organic corn; so sweet and buttery tasting! Makes the best cornbread and grits too.
Adding Flax Seed
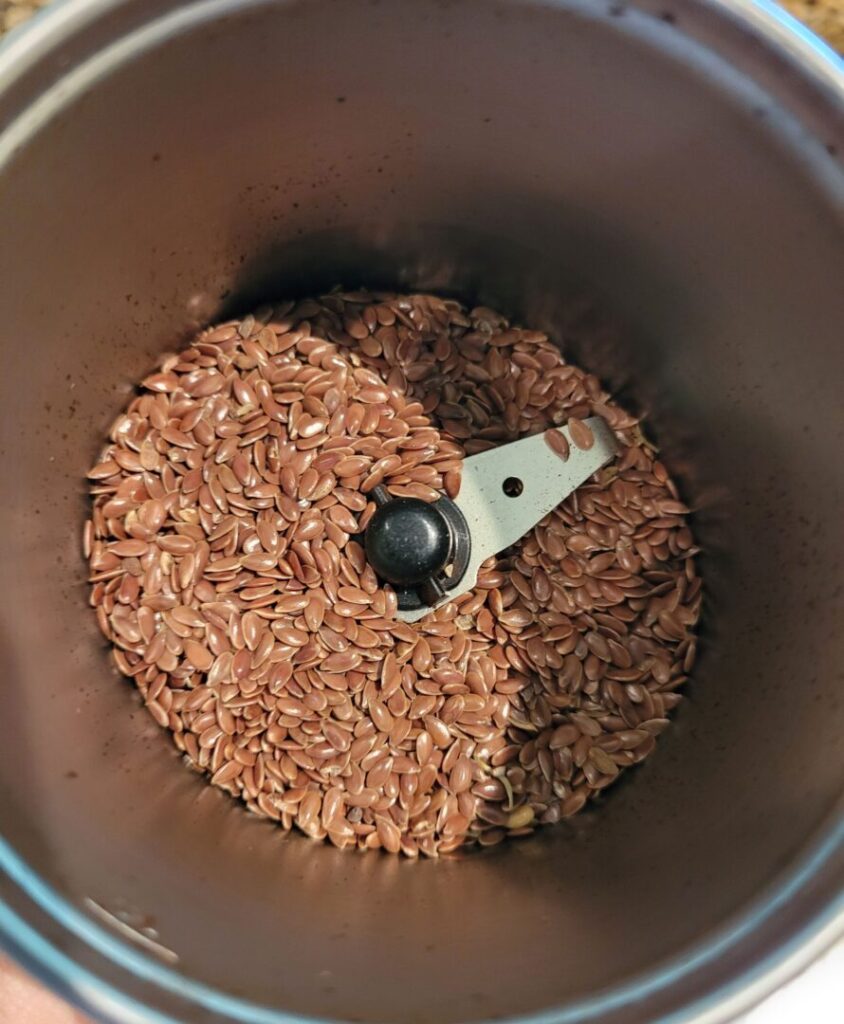
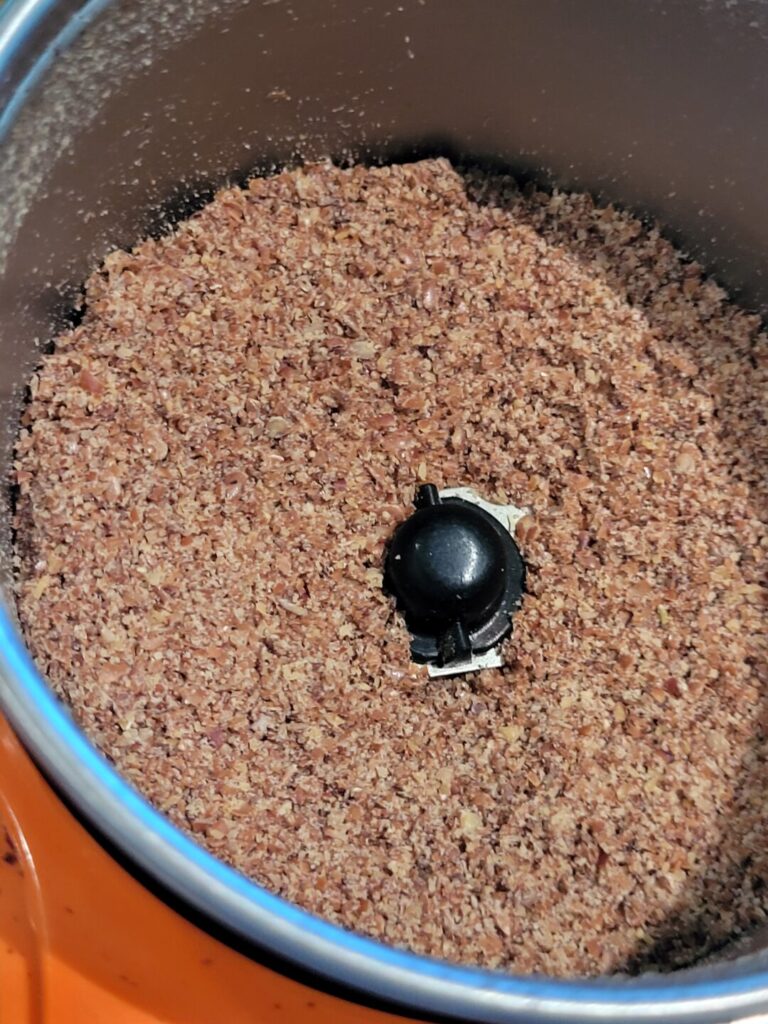
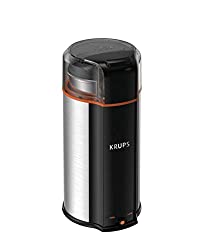
By adding Flax Seed to just about anything: baked goods, soup, salad, cereal; you name it, you are adding lots of other nutrients and those all-important omega-3’s, which helps lower inflammation. Check out my Ingredients page for more benefit info. But, just like the grains you must grind them fresh to reap those benefits. No, don’t use pre-ground flax meal from the store, because many of the nutrients will have already oxidized away. Don’t eat it whole, because the body will not break it down. So grind it fresh. Use your NutriMill Mini Seed Mill (shown below) or a coffee grinder or blender. Zip, zip! (If you don’t have flax seed just replace the called-for amount with flour. But I encourage you to get some and use it often.)
Time to Mix
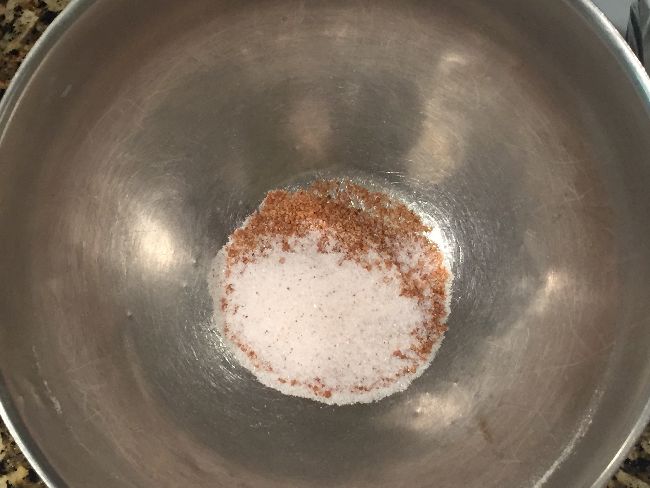
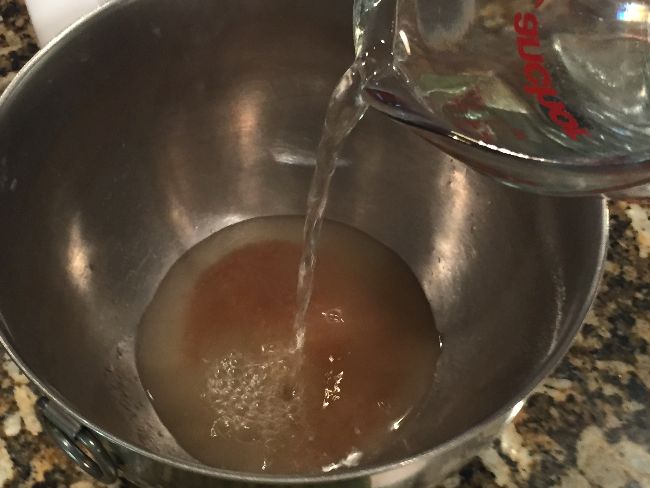
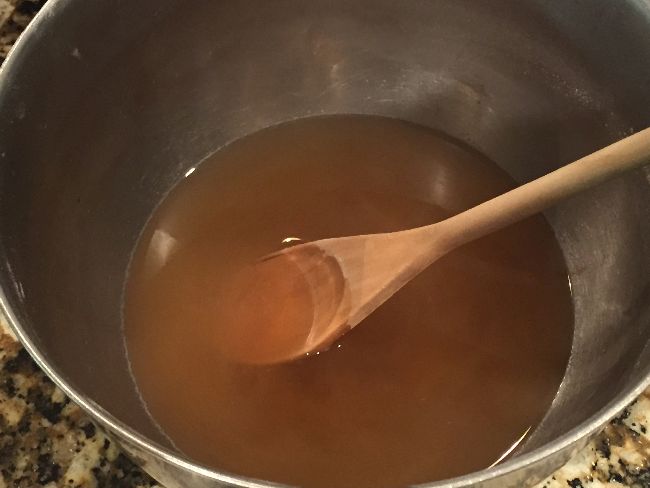
In a medium bowl, using a spoon, spatula or whatever, combine warm water, salt, Sucanat and lecitihin. (You can certainly do all this in your mixer bowl.)
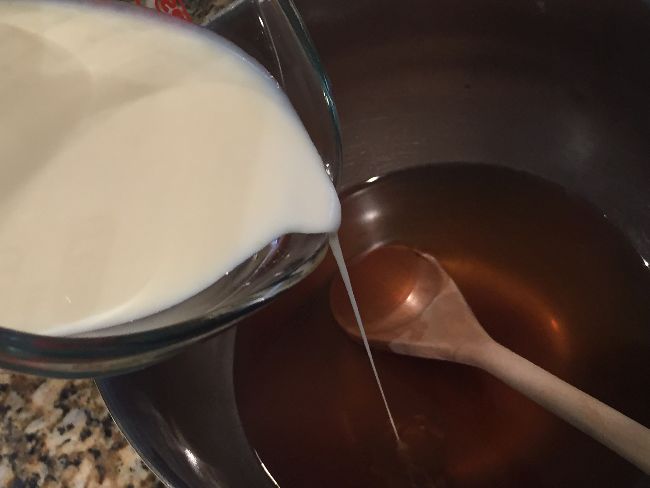
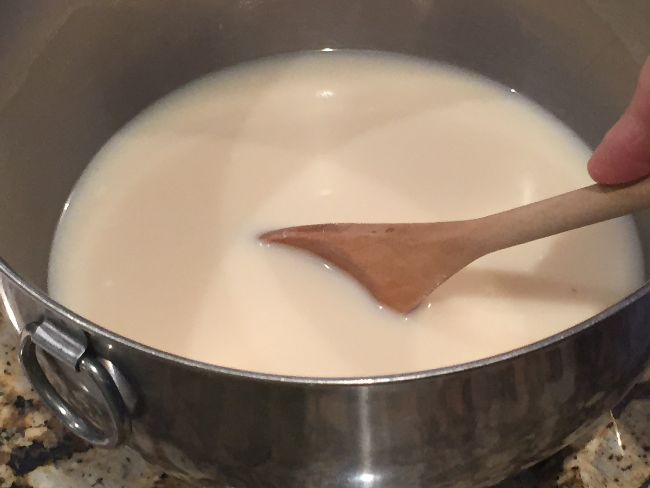
Add your buttermilk; blend well.

No Buttermilk, no problem – Simply sour regular milk by adding 1 Tablespoon vinegar or lemon juice to 1 cup regular milk; stir; let set about 5-10 minutes, then add to recipe.
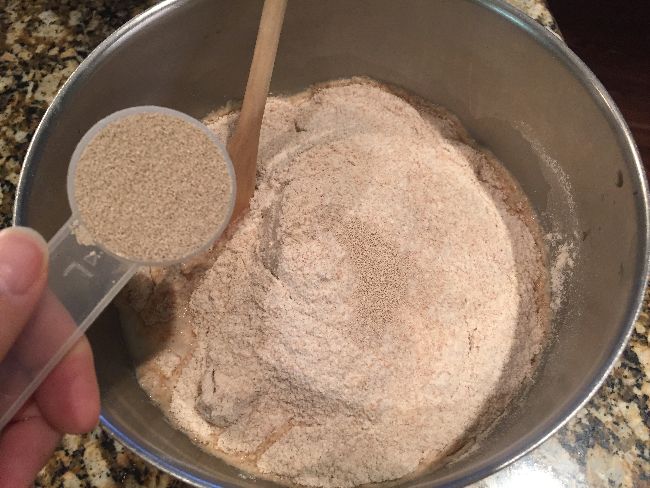
Now add the ground flax seed and two cups of flour; then sprinkle yeast on top of flour.
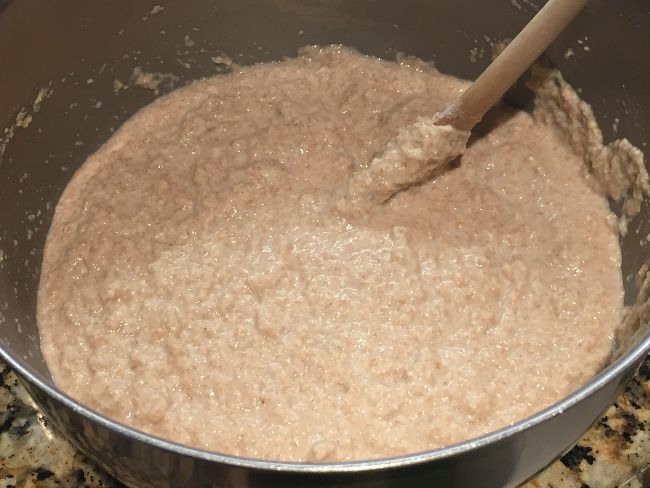
Give it all a good stir. It will have more of a think pancake batter consistency.
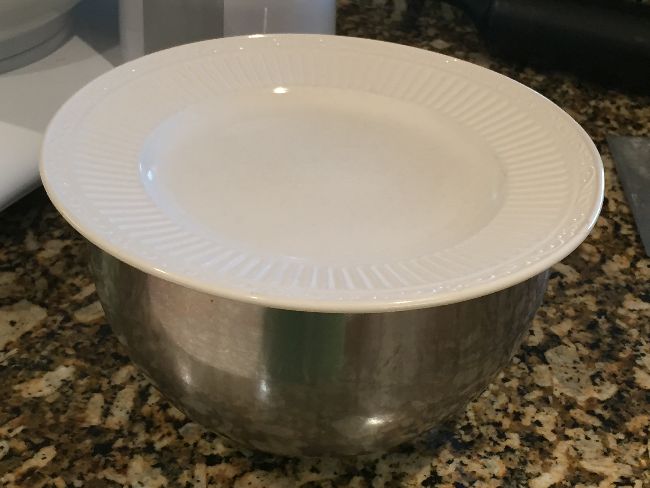
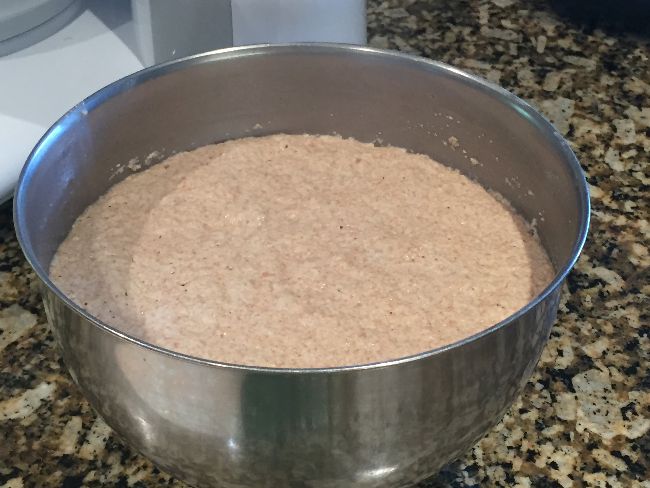
We call this type of batter – a Sponge. After it has had time to rise the batter will be light and airy like a sponge.
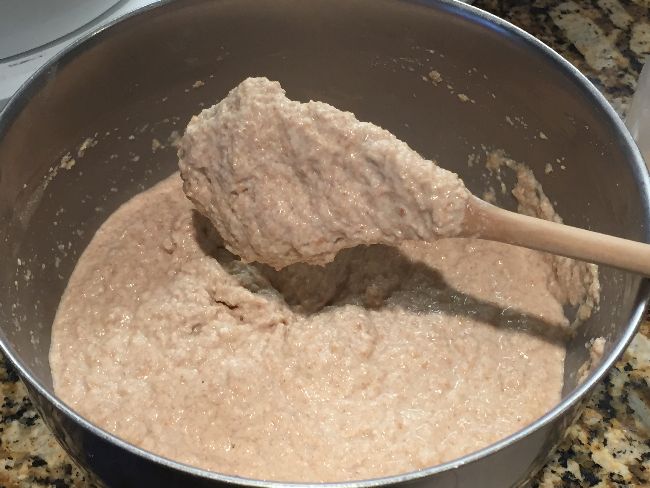
When time is up, remove covering. See how much it has risen, practically doubled; light and fluffy.
Kneading Time
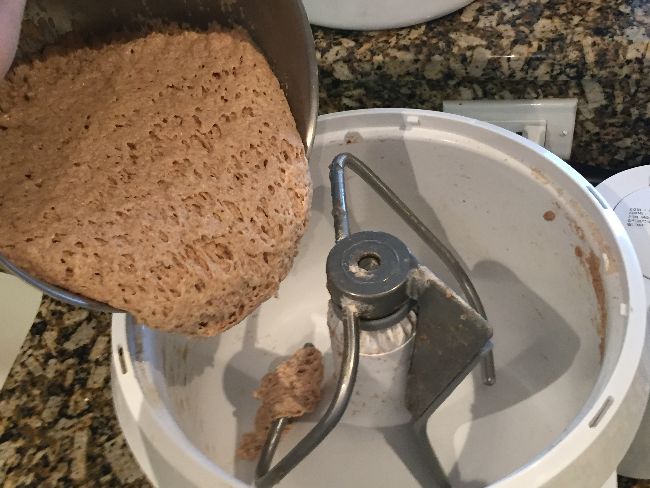
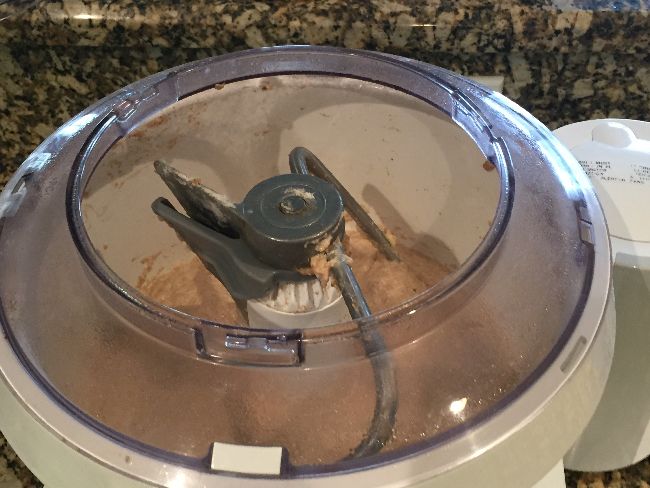
Now pour your sponge into your stand mixer bowl; fit with dough hook. Look how spongy it looks.
I use the AWESOME Bosch Universal Plus Mixer. The best mixer on the market – CHECK IT OUT HERE (an affiliate link)
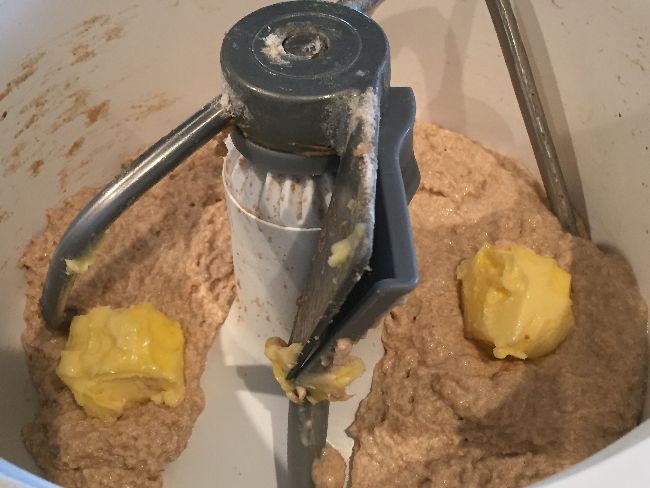
Add the softened butter. Blend about a minute on low speed.
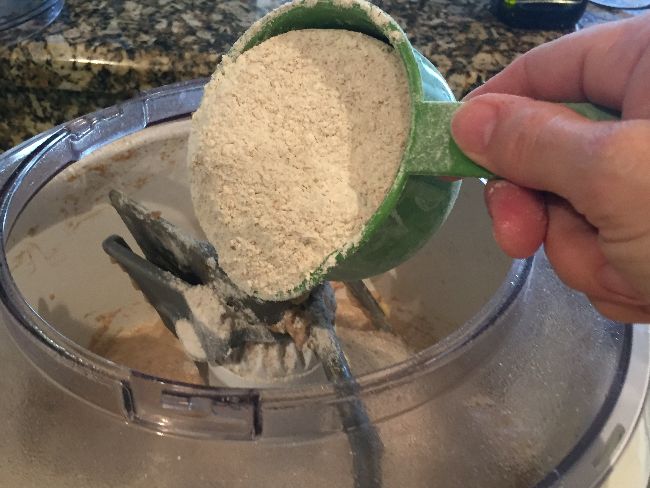
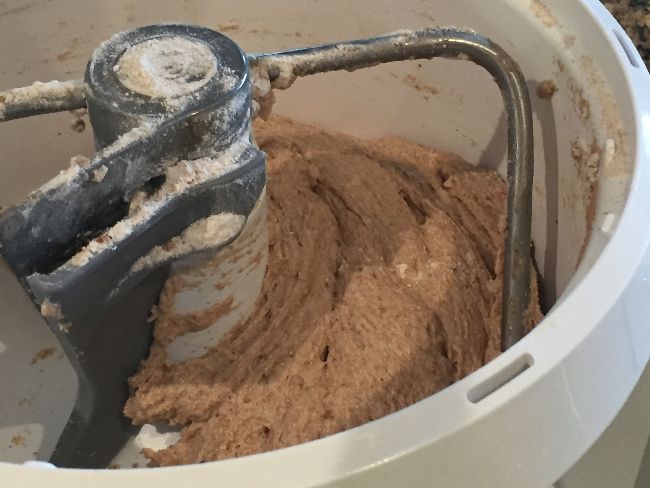
Now add 1-1/2 cups of remaining flour. You want your dough kinda sticky, so you may not need the other 1/2 cup flour; if so add a little at a time till the dough cleans the side of the bowl. Knead dough for about 5-7 minutes for smooth soft dough. (Kneading by hand may take about 8-10 minutes.)
Roll & Cut the Muffins
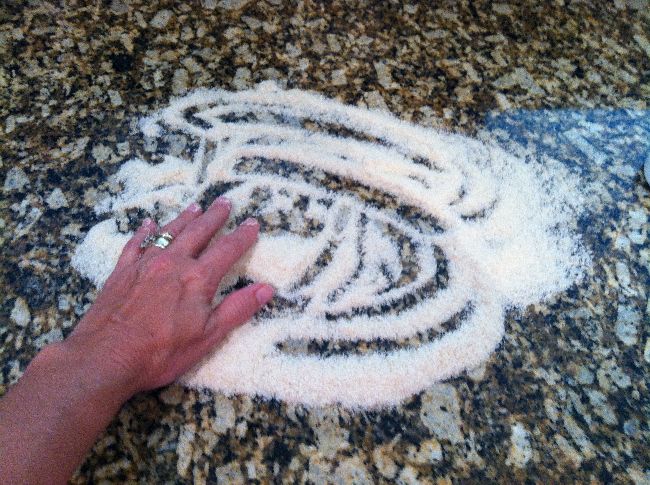
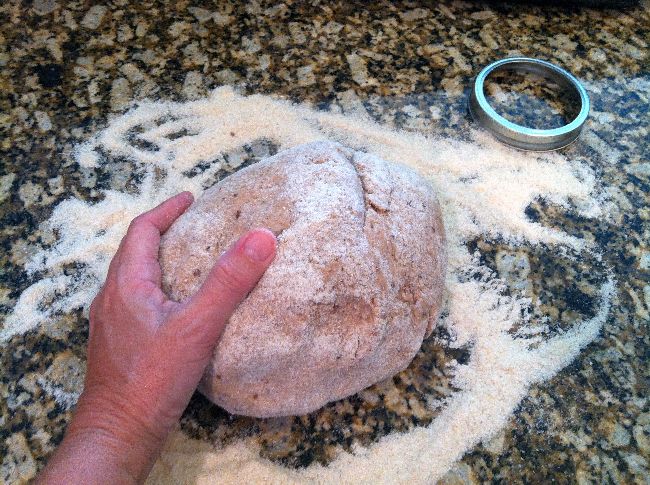
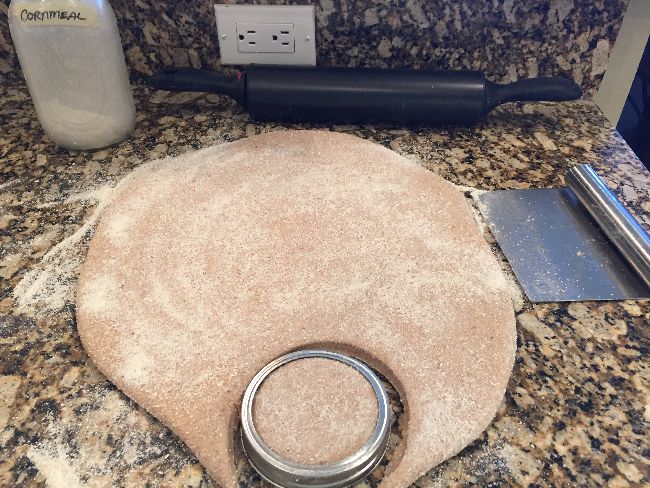
Sprinkle work surface with cornmeal. Lightly wet your hands and turn out your dough and hand knead 2-3 times, then press or roll it out to about 1/2 inch thick.
Cut into 3-4 inch rounds. I use a canning jar ring. It’s the prefect size for muffin egg sandwiches
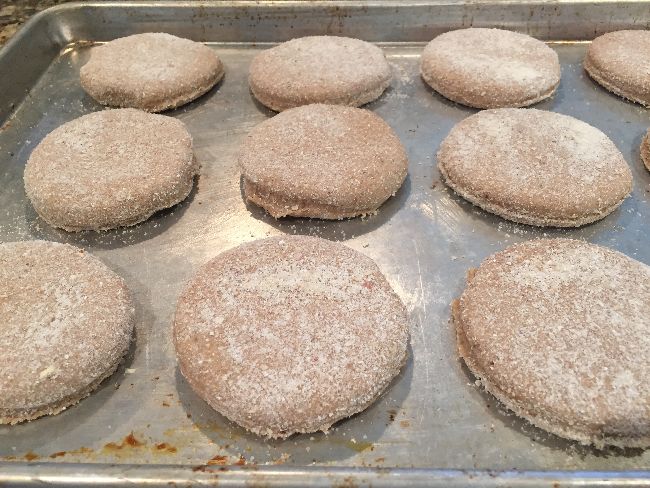
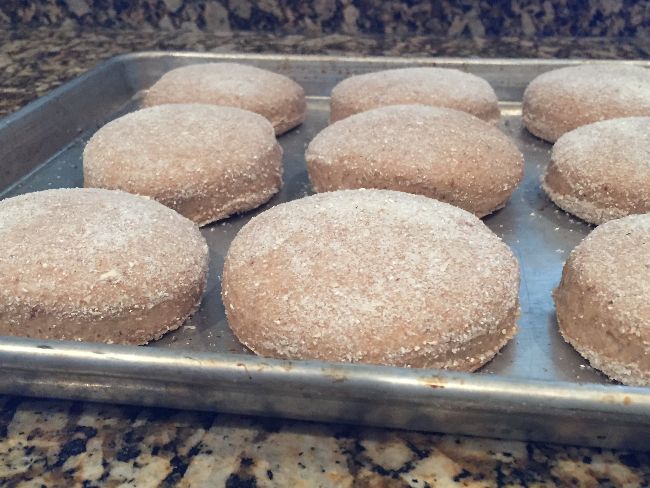
Place cut muffin rounds on a lightly greased baking sheet. Cover with a light kitchen towel and let rise in a warm, draft-free place about 30 minutes.
Time to Cook
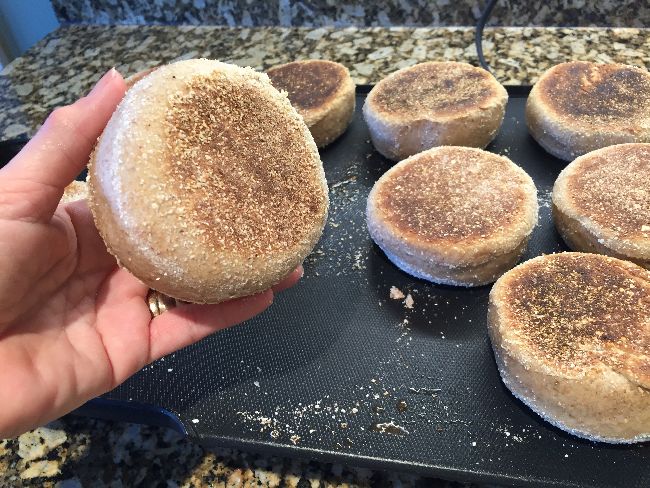
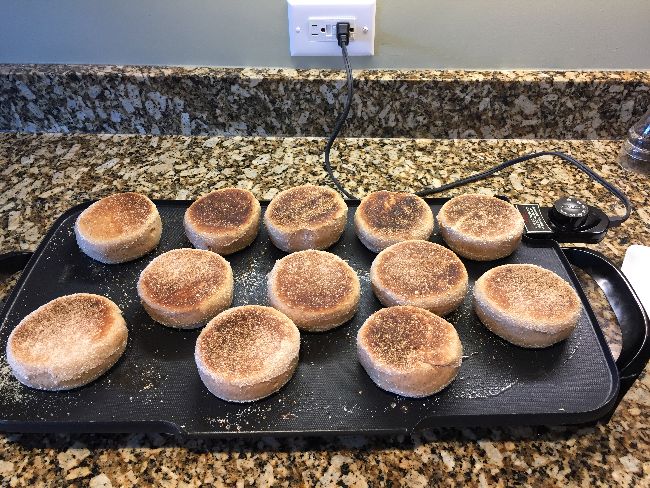
English muffins are cooked on a griddle or in a skillet on the stove top. Who knew?
After your muffins have risen, heat your griddle to 350 degrees (or skillet on medium.) Adjust your heat if need-be.

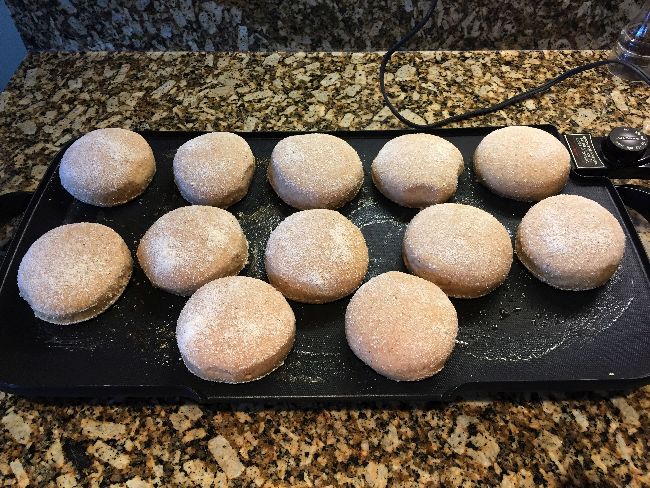
If you have a griddle, awesome! The whole batch of English muffins can be cooked at one time; a super time-saver. But, have no fear, a skillet will do just fine.

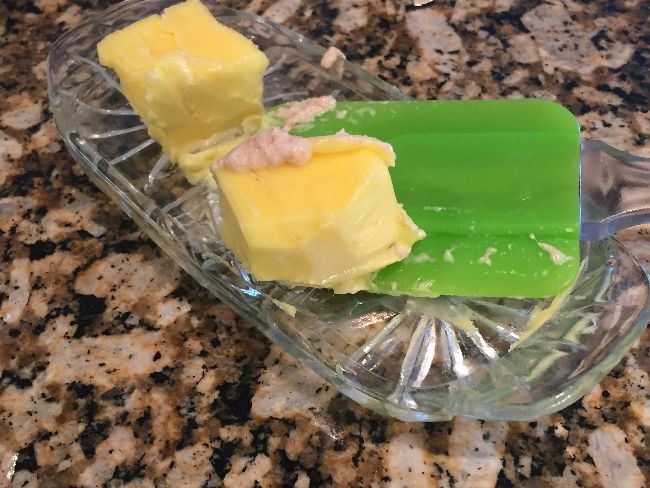
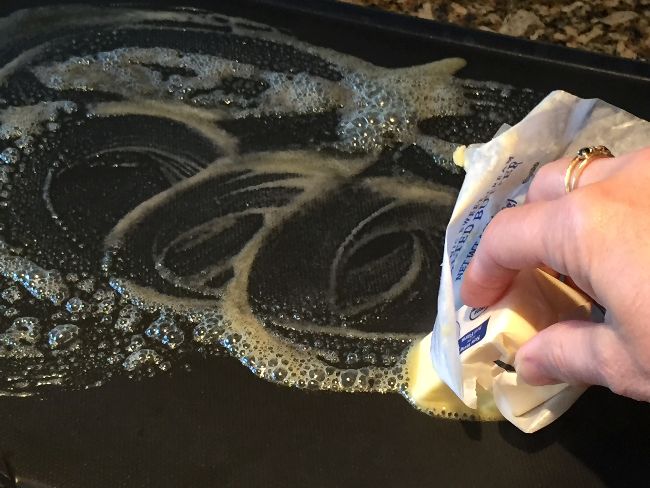
For that buttery sweetness, peel back the paper on a cold stick of butter and make swirls on the heated griddle/skillet surface. Keep it handy to swirl again when you flip the muffins. Soooo yum!
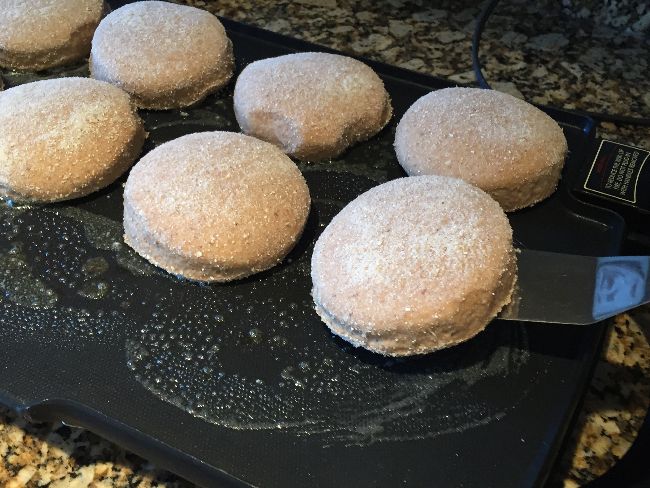
Gently lift each round with a spatula taking care not to deflate them and place on heated, butter-swirled griddle/skillet.
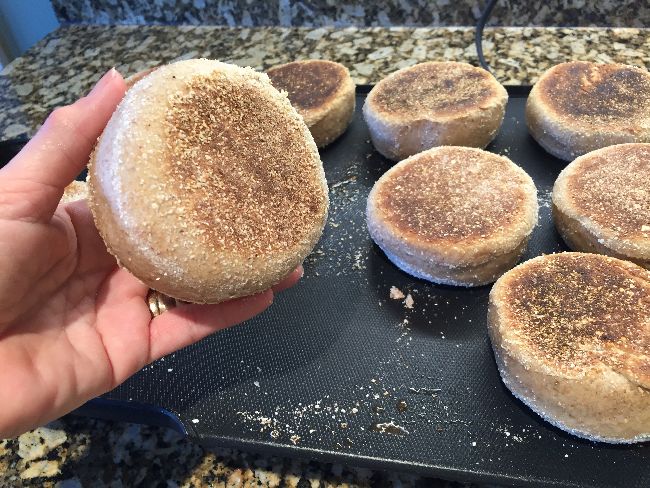
Muffins will need to cook for 3-4 minutes on the first side. Keep an eye on them though so they do not get too brown.
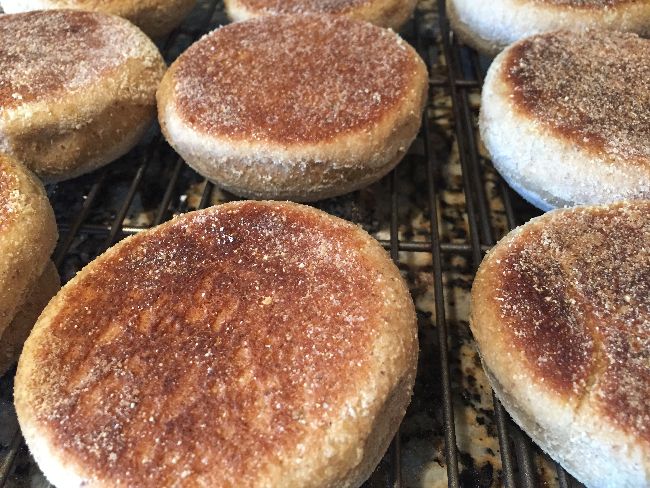
Turn once while cooking, swirling on more butter before setting muffin back down. Continue cooking till golden brown, another 2-3 minutes or so.
Muffins should feel lighter when picked up. If they are still a little heavy feeling turn the temp down and allow to cook a little longer being careful they don’t get too dark.
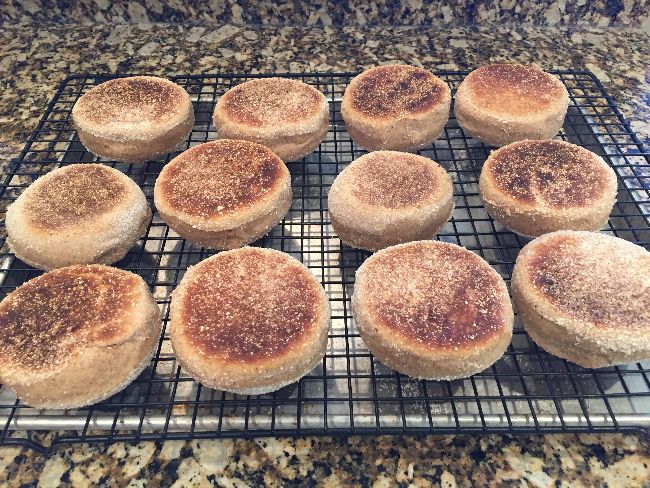
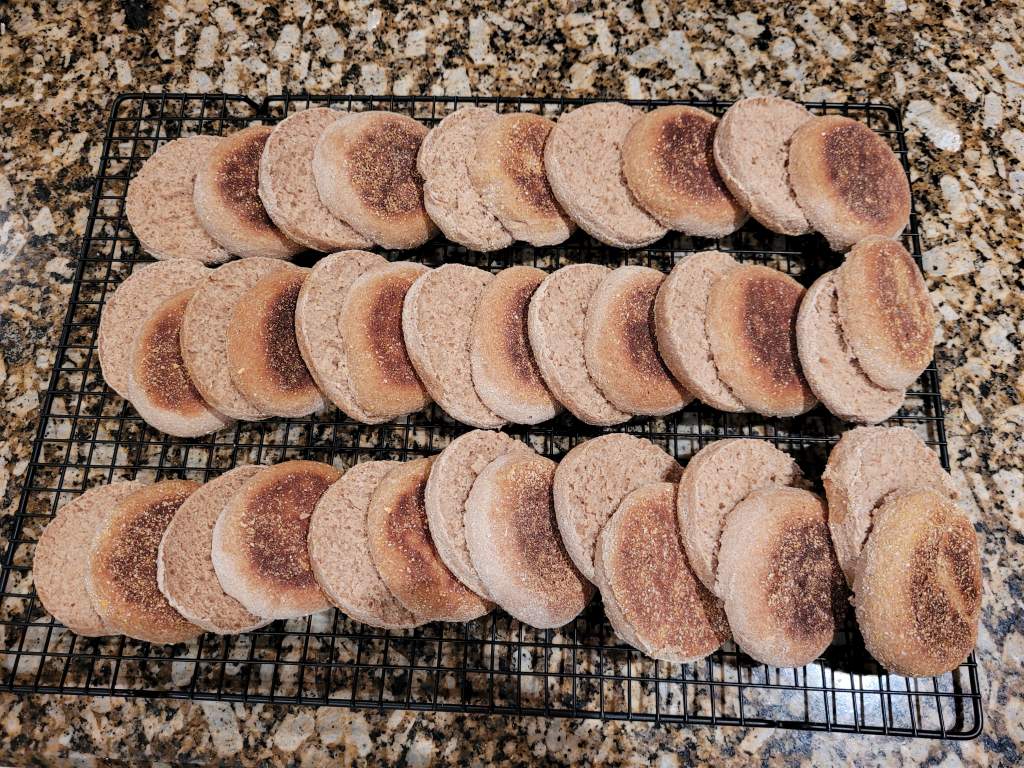
Cool cooked muffins on a cooling rack until able to able to handle easily.
Cutting Time
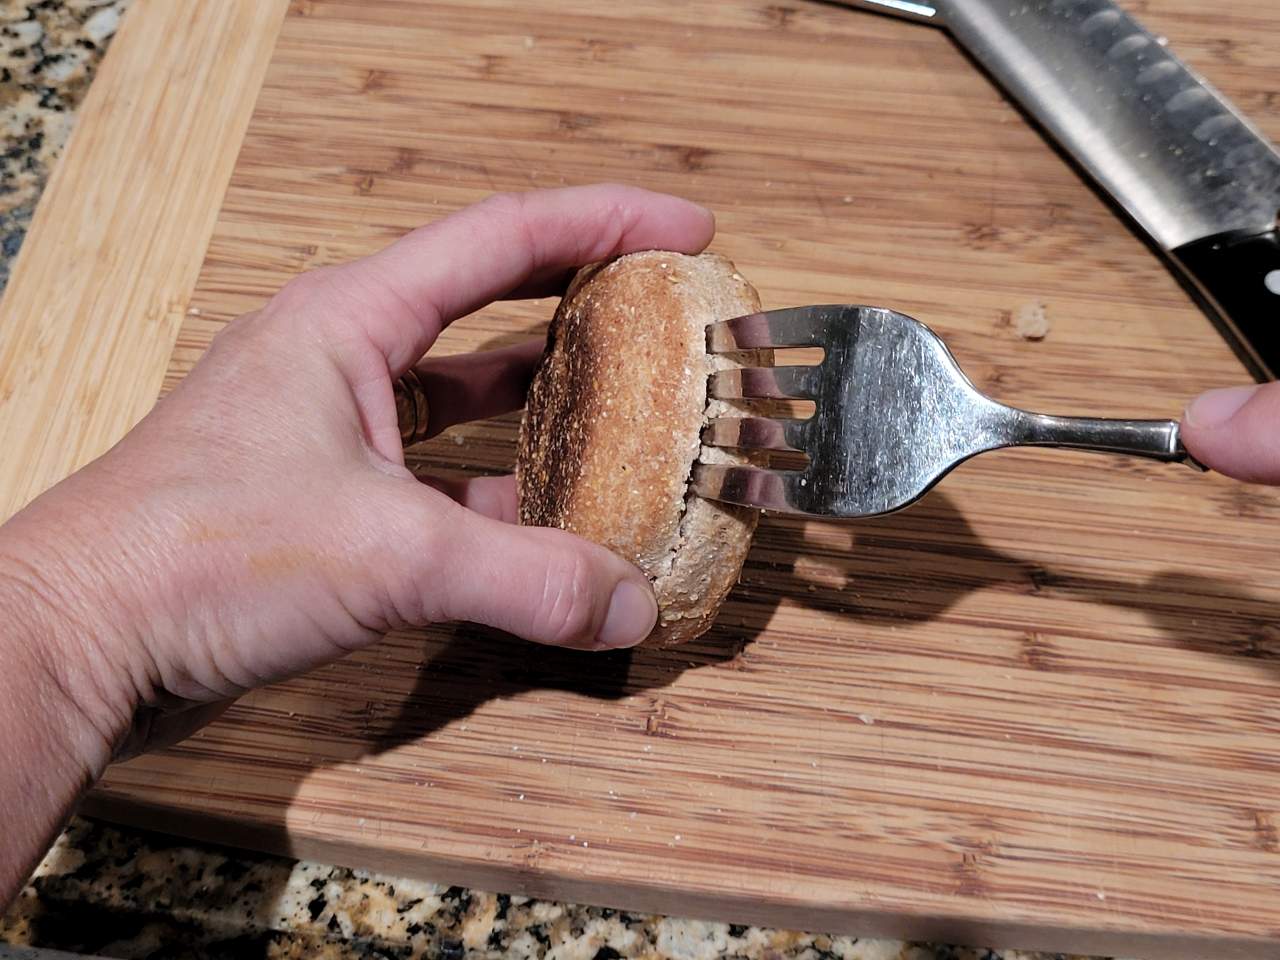
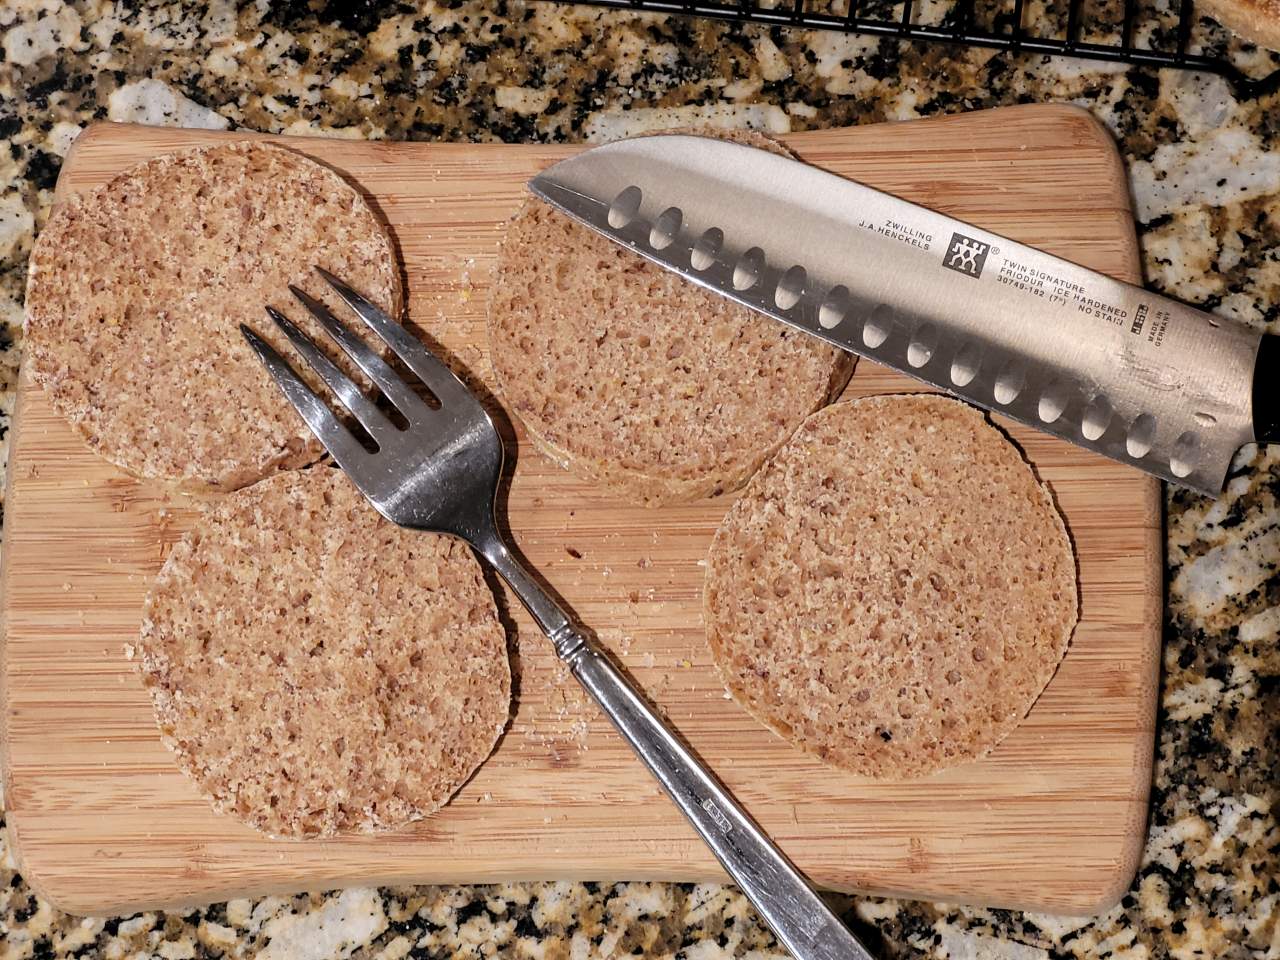
Use a fork (I like a large meat fork) or sharp knife to separate or slice each English muffin to make two halves. The traditional way is to split with a fork. This allows for that jaggedy surface for more crevices for butter to ooze into! The knife is faster; the inside of the muffin will be smoother.
With the fork, simply insert it into the muffin all the way around the edge, then separate.
- Storage – Store in a loosely sealed bag or container for about 2 days. Remember, you are using fresh milled flour, they can spoil fairly quickly. BUT hey, they freeze great. Place sliced muffins, with slices slightly separated on a cookie sheet, allow to freeze hard at least 30 minutes, then place muffin pairs in a freezer zip type baggie or container. When ready to eat, simply pop in the toaster to reheat using the bagel setting.
- Appetizer – Use a small cutter. Serve with honey butter or other favorite spread.
- Personal Pizza – Us a larger cutter for personal pizza size rounds. Great for an afternoon healthy snack with your choice of sauce and toppings. Reheat in 350 degree oven for about 10 minutes or until cheese has melted and toppings are warmed.


Favorite topping for English muffins:
Mix peanut butter and coconut oil…amazing!
Jennifer, that’s a great idea! I will have to try it. Thanks
Wow, this article is good, my younger sister is analyzing these kinds of things, therefore I am going to convey her. Demarcus Swanay
Thanks for sharing. 🙂
Great ? I should definitely pronounce, impressed with your website. Al Simonett
Thank you, Alita. These fresh milled whole wheat English muffins are so delicious and easy to make.